Créer un capteurs capacitifs
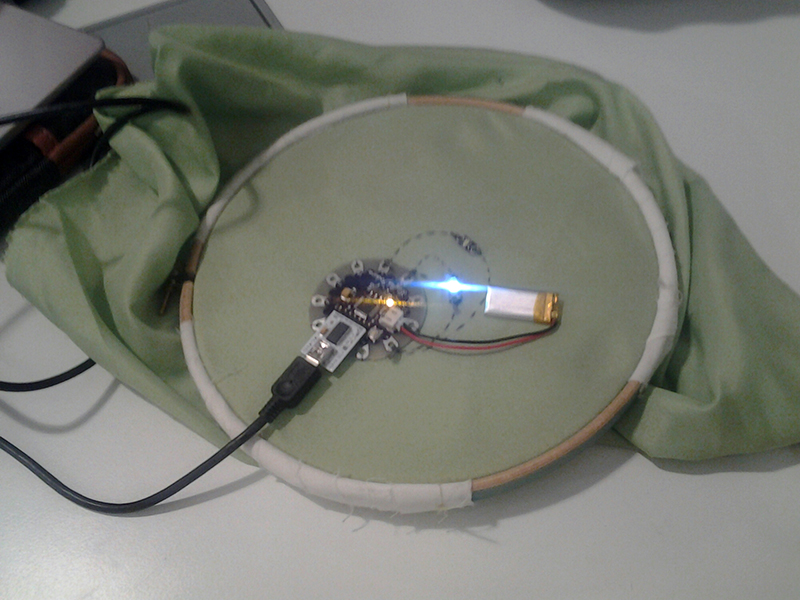
Vous pouvez créer une entrée tactile sur l'une des broche de l'Arduino. 
Il ne nécessite aucun matériel spécial, néanmoins un condensateur de 1nF est recommandé en ligne avec la broche pour découpler les bruits de 50Hz.

Connecter un fil ou une plaque métallique à une broche.

Le code fonctionne en mettant la broche à la terre, tournant sur la résistance de pull-up interne, et en mesurant le temps qu'il faut pour que la broche revenienne à l'état haut. 

readCapacitivePin renvoie une valeur faible, par exemple "1" au repos

Quand on le touche il retourne environ 5.

Code source

  1.  #include "pins_arduino.h" // Arduino pre-1.0 needs this
  2.  /*
  3.   * CapacitivePin Fonction Demo
  4.   * Alexandre Brugnoni 2015
  5.   * Utiliser la résistance pullup sur les entrée digitale
  6.   */
  7.  
  8.  const int pinSense = 4;
  9.  const int pinLed = 13;
  10.  
  11.  void setup() {
  12.   pinMode(pinSense , INPUT); // pin activée en entrée pour capter les contacts
  13.   digitalWrite(pinSense , HIGH); // Activer le pullup
  14.   pinMode(pinLed, OUTPUT); // pin 13 activée en sortie pour pouvoir allumer la led
  15.   Serial.begin(9600); // initialisation du port série a 9600 Bd
  16.  }
  17.  
  18.  void loop() {
  19.   long total = readCapacitivePin(4);
  20.   Serial.println(total); // Ecriture sur le port serie de la valeur lue du pin 4
  21.  
  22.   if ( total >= 3 ){ // si le total est supperieur a 3 (cette valeur peut être a modifier)
  23.   digitalWrite(pinLed, HIGH); // on allume la led (HIGH)
  24.   } else { // sinon
  25.   digitalWrite(pinLed, LOW); // on éteind la led en mettant le voltage du pin 13 à LOW
  26.   }
  27.   delay(50); // on attend un peux pour avoir le temps de lire les valeurs sur le port série
  28.  }
  29.  
  30.  // readCapacitivePin
  31.  // Input: Arduino pin number
  32.  // Output: A number, from 0 to 17 expressing
  33.  // how much capacitance is on the pin
  34.  // When you touch the pin, or whatever you have
  35.  // attached to it, the number will get higher
  36.  uint8_t readCapacitivePin(int pinToMeasure) {
  37.  // Variables used to translate from Arduino to AVR pin naming
  38.  volatile uint8_t* port;
  39.  volatile uint8_t* ddr;
  40.  volatile uint8_t* pin;
  41.  // Here we translate the input pin number from
  42.  // Arduino pin number to the AVR PORT, PIN, DDR,
  43.  // and which bit of those registers we care about.
  44.  byte bitmask;
  45.  port = portOutputRegister(digitalPinToPort(pinToMeasure));
  46.  ddr = portModeRegister(digitalPinToPort(pinToMeasure));
  47.  bitmask = digitalPinToBitMask(pinToMeasure);
  48.  pin = portInputRegister(digitalPinToPort(pinToMeasure));
  49.  // Discharge the pin first by setting it low and output
  50.  *port &= ~(bitmask);
  51.  *ddr |= bitmask;
  52.  delay(1);
  53.  // Make the pin an input with the internal pull-up on
  54.  *ddr &= ~(bitmask);
  55.  *port |= bitmask;
  56.  
  57.  // Now see how long the pin to get pulled up. This manual unrolling of the loop
  58.  // decreases the number of hardware cycles between each read of the pin,
  59.  // thus increasing sensitivity.
  60.  uint8_t cycles = 17;
  61.  if (*pin & bitmask) { cycles = 0;}
  62.  else if (*pin & bitmask) { cycles = 1;}
  63.  else if (*pin & bitmask) { cycles = 2;}
  64.  else if (*pin & bitmask) { cycles = 3;}
  65.  else if (*pin & bitmask) { cycles = 4;}
  66.  else if (*pin & bitmask) { cycles = 5;}
  67.  else if (*pin & bitmask) { cycles = 6;}
  68.  else if (*pin & bitmask) { cycles = 7;}
  69.  else if (*pin & bitmask) { cycles = 8;}
  70.  else if (*pin & bitmask) { cycles = 9;}
  71.  else if (*pin & bitmask) { cycles = 10;}
  72.  else if (*pin & bitmask) { cycles = 11;}
  73.  else if (*pin & bitmask) { cycles = 12;}
  74.  else if (*pin & bitmask) { cycles = 13;}
  75.  else if (*pin & bitmask) { cycles = 14;}
  76.  else if (*pin & bitmask) { cycles = 15;}
  77.  else if (*pin & bitmask) { cycles = 16;}
  78.  
  79.  // Discharge the pin again by setting it low and output
  80.  // It's important to leave the pins low if you want to
  81.  // be able to touch more than 1 sensor at a time - if
  82.  // the sensor is left pulled high, when you touch
  83.  // two sensors, your body will transfer the charge between
  84.  // sensors.
  85.  *port &= ~(bitmask);
  86.  *ddr |= bitmask;
  87.  
  88.  return cycles;
  89.  }